Monitor recording functions are great for guiding tech-challenged spouse and children users through employing their new smartphone, capturing in-sport footage, collecting evidence when reporting bugs and far more. Nonetheless, not all gadgets enable you file your monitor equally or simply.
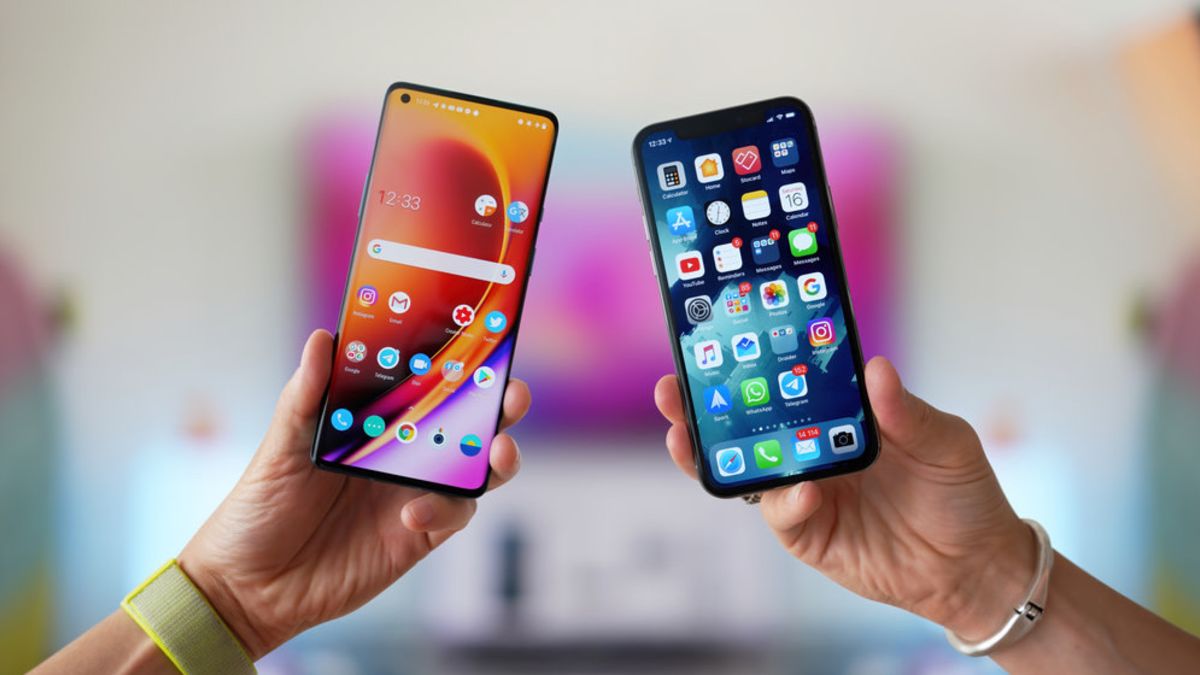
Iphone and iPad house owners have been able to history their screens considering the fact that iOS 11, but Android’s screen recording capabilities have been inconsistent at finest. Some brands allow users file their screens, but many do not—and though there are 3rd-get together monitor seize apps out there, some of them are super shady and could pose a protection risk.
That will modify the moment Android 11 commences rolling out afterwards this 12 months, fortunately. The new Android variation will contain crafted-in display recording abilities for the very first time, eventually bringing a lengthy-awaited feature to a machine in the vicinity of you (as lengthy as it supports Android 11, in any case). You can even attempt it out early by installing the most up-to-date Android 11 community beta.
How to record your Android, iOS or iPadOS device’s display
Now that display recording is eventually a indigenous Android function, we figured it was time we set collectively a guideline exhibiting you how to history your display screen in equally Android and iOS/iPadOS.
G/O Media might get a commission
Each are simple plenty of to use, but you are going to have to have to poke all over a bit—the feature is correctly held in considerably less-effortless spots to stop accidental recordings.
Also take note that and some applications really don’t let you to history audio at the identical time, and some products may possibly reduce you from monitor sharing, mirroring or casting applications although also recording your display screen.
Android
Due to the fact this an Android 11 function, you’ll have to have to set up the most recent Android 11 beta or hold out for the ultimate edition to drop later this calendar year. Some phones (like the Samsung Galaxy) can monitor history even devoid of Android 11, so it’s achievable your product could already be capable to do this—though we’re only covering the Android 11 functionality for this post.
- Swipe down on your Android device’s screen to develop the notifications menu, then swipe down at the time a lot more to entry the Quick Settings.
- Swipe proper by way of the Brief Options shortcuts to locate the “Screen Record” button, then tap it.
- On the next display screen, you can decide on no matter if to report audio and/or incorporate your display taps in the recording. If you want to consist of audio, faucet “Record audio” then find no matter if to document just your device’s audio, your mic’s audio or audio from both equally resources.
- Tap “Start” when you’re prepared to history. A tiny purple recording icon will display screen in the top-suitable of your display to point out screen recording is in development.
- To prevent the recording, swipe down to check out your notification panel, then press the purple “Tap to stop” notification banner.
Display screen recordings are saved to your device’s current media folder and can be uncovered with the file manager or in the Google Shots application beneath Library > Movies.
iOS and iPadOS
These recommendations really should get the job done on any Apple iphone, iPad or iPod contact jogging iOS 11 or later on.
- Open up the Options app and go to Management Heart > Customize Controls.
- Faucet the “+” icon up coming to the “Screen Recording” solution.
- This future stage will differ based on the device/OS you’re making use of. For Apple iphone X or newer and iPads with iOS 12/iPadOS 13 or later: swipe down from the upper-ideal corner of the display. For iOS 11 and more mature gadgets: Swipe up from the base edge of any monitor.
- Tough-press the gray “record” icon (it looks like a significant dot inside a circle) to prepared the display file characteristic.
- Faucet the Microphone icon to “On” if you want to include things like mic audio in your recording.
- Faucet “Start Recording,” then hold out for the a few-2nd countdown to complete. Immediately after that, the recording will commence.
To halt recording, faucet the purple bar at the major of your display then push “Stop.” You can also use the very same gesture command you employed in Stage 3 to open the Command Middle and tap the “Record” icon all over again to end the video clip that way instead. Saved display recordings can be discovered in the iOS Pics application.