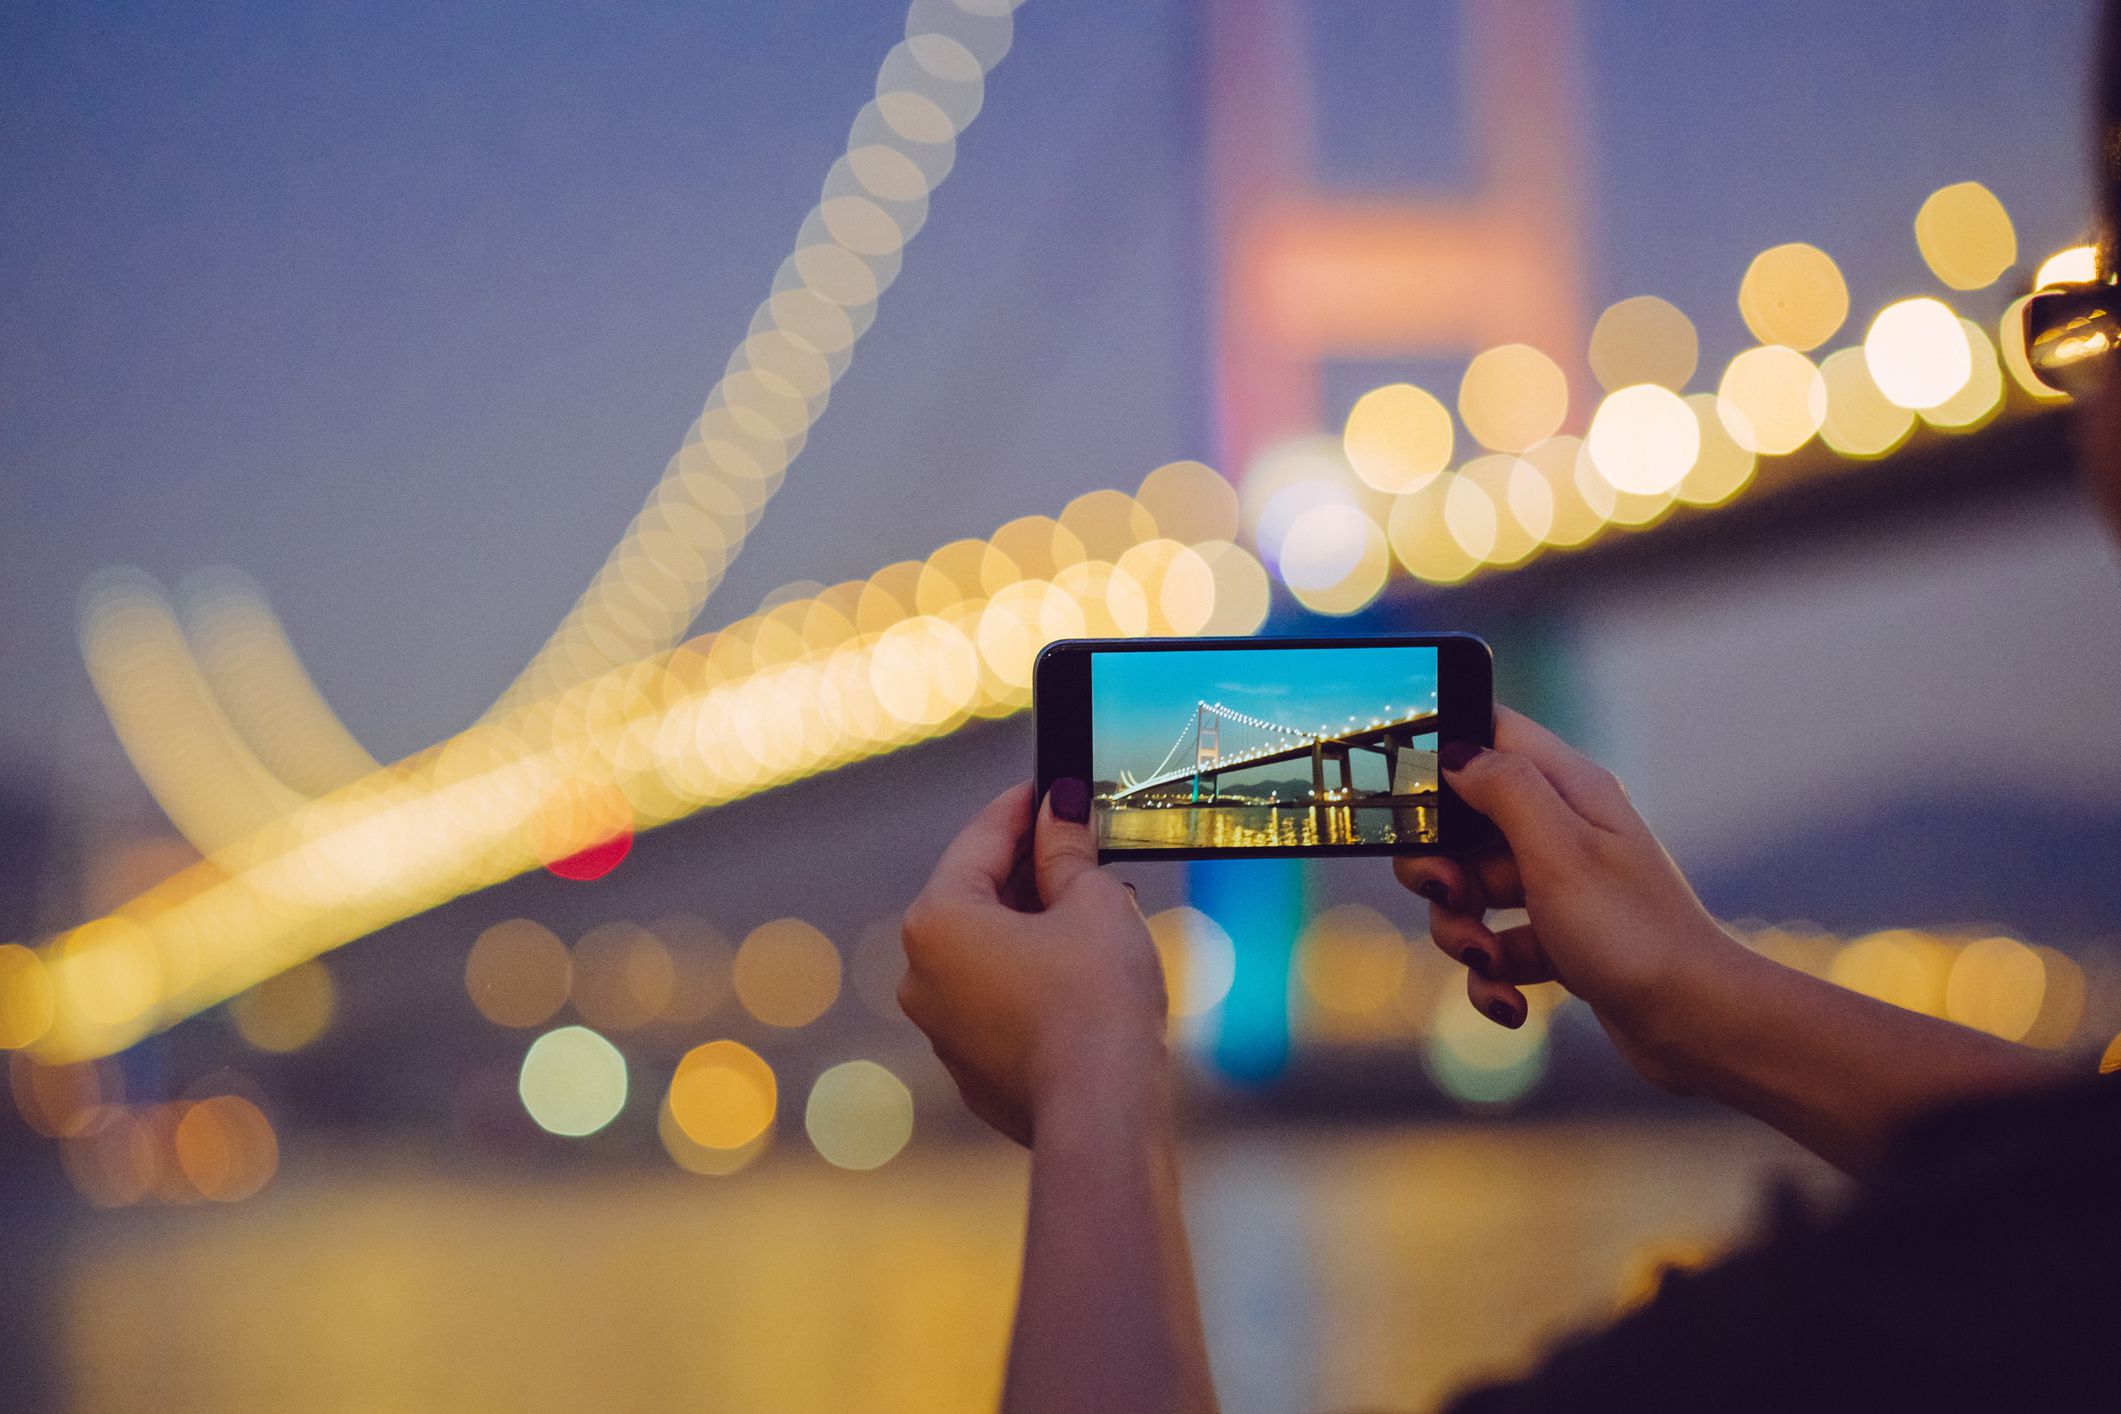
There’s a saying in photography that the best camera is the one you have with you the most. For many people, that’s the camera on their smartphone.
Fortunately, if you’re an iPhone owner, your phone’s camera is pretty impressive. In fact, modern iPhone models sport cameras that rival standalone devices that cost thousands.
The iPhone camera has evolved tremendously over the years. The original iPhone took photos, but didn’t do much more. The iPhone 4 added important features like flash and zoom, while the iPhone 5 brought support for panoramic images. Later models added burst mode, Portrait Mode, and much more.
Whichever feature you’re interested in, here’s how to use the Camera app that comes pre-loaded on every iPhone.
The tips in this article apply to various iPhone models running modern and older iOS versions. Be sure to read the note in each section to see if your iPhone supports that feature. The same Camera app is available on the iPad and iPod touch, too, although different models have different features based on their hardware.
Contents
How to Switch Cameras on Your iPhone
All recent iPhone models have two cameras. One is above the screen and faces you; it’s used for taking selfies, using FaceTime, etc. The back-facing camera is more feature-packed, and is used for taking other photos and videos.
Changing between the two cameras on your iPhone so that you can take selfies or record the room around you, is easy: tap the camera button that shows a refresh symbol.
Switching between the back-facing and front-facing camera works on iPhone 4 and newer.
How to Zoom In With Your iPhone Camera
The iPhone camera can zoom in and out to better capture the photo you want. Doing so is much like how you zoom up on web pages, pictures, etc.
With the camera open and viewing something, pinch two fingers together to zoom out, or drag them away from each other to zoom up.
Another way to use the digital zoom feature of your iPhone is to pinch either direction to reveal a zoom bar at the bottom of the screen. Drag it to the left to see more of the picture or to the right to zoom closer.
Camera zooming is supported in iPhone 3GS and newer models.
Using the iPhone Camera Flash
The iPhone camera is pretty good at picking up details in low light, but you can get really great low-light photos with the built-in camera flash. Recent models of the iPhone even include multiple flashes, which deliver better, more natural colors.
Once you’re in the Camera app, the camera flash icon is the lightning bolt at the top of the screen. Tap it to reveal its options:
- Auto: Select this to use the flash only when it’s needed to take a good picture, as determined by the iPhone’s camera.
- On: With this setting on, the flash will be used for every picture.
- Off: The default setting for the camera, your phone will not produce a flash regardless of the lighting conditions.
These camera flash details are relevant for all iPhone models from iPhone 4 and newer.
Using Portrait Mode and Portrait Lighting on iPhone
Some models of the iPhone have a dual-camera system on the back that delivers high-quality photos that apply sophisticated lighting techniques and cool depth-of-field effects.
Portrait Mode and Portrait Lighting work with iPhone 7 Plus and newer iPhone models.
Using HDR Photos
High Dynamic Range (HDR) photos deliver better-looking, more detailed images by taking multiple exposures of the same scene and combining them.
Your phone gives you some control over HDR photos, via Settings > Camera.
- Move the Smart HDR slider to on/green to use HDR photos for all the pictures you take.
- If you want to also keep a non-HDR copy of your photos (this isn’t necessary, but some photographers prefer it), move the Keep Normal Photo slider to on/green.
HDR photos are available on iPhone 4 and newer models.
Using Camera Focus on iPhone
To apply the camera’s focus to a particular part of a scene, open the Camera app and tap the thing you want to focus on. A square will appear on the screen to indicate which part of the image the camera is focusing on.
The focus feature automatically adjusts exposure and white balance to deliver the best looking photo, but you can also control this. Tap the screen to bring up the focus square, then swipe up and down to adjust brightness.
Focusing your iPhone camera on an object is available on iPhone 4 and newer.
Taking Panoramic Photos on iPhone
Want to capture an immersive vista that’s more detailed and spectacular than the standard image size offered by iPhone photos? Use iPhone’s panoramic photo option. Even though it doesn’t have a panoramic lens, iPhone uses software to stitch together multiple photos into a single, large image.
From the Camera app, swipe through the text below the viewfinder to land on Pano.
Tap the button used to take photos.
Follow the directions on the screen, which involves moving your iPhone slowly and steadily across the subject you want to capture in panorama, making sure to follow the line you see on the screen.
Tap Done when finished to save the panoramic photo to your Photos app.
The photo will look small on your iPhone since the screen isn’t big enough to show the full-size image. Share the image to a device with a larger screen to see the full-size photo.
Panoramic pictures can be taken on iPhone 4S and newer devices that are running at least iOS 6.
Using Burst Mode on iPhone
If you want to capture a lot of photos quickly, especially if you’re photographing action, you’ll love burst mode. Instead of just snapping a picture every time you press the button, it takes up to 10 pictures every second.
Using burst mode is just like using the Camera app normally, except when you take photos, you need to tap and hold the shutter button. You’ll see an onscreen count rapidly rise, indicating the number of photos you’re taking.
When finished, go to the Photos app to review your burst mode photos and delete any you don’t want.
iPhone 5S and newer models support burst mode.
Applying Photo Filters on iPhone
Some of the most popular photo apps apply stylish effects and filters to your photos to make them look cool (hello, Instagram!). The iPhone’s Camera app has a set of filters that you can apply without using another app.
Access the iPhone camera filters by selecting the three interlocking circles from the corner of the Camera app. Scroll through the filters to see how they look, and then use your camera as you normally would.
Any image you take a picture of will be saved with the filter you selected.
Photo filters work with iPhone 4S and newer on devices running iOS 7 or higher.
Taking Live Photos on iPhone
Apple’s Live Photos format combines a bit of animation and audio to create fun, engaging snapshots. You can even apply filters that loop the animations or bounce the action back and forth.
iPhone 6S and newer models support Live Photos.
Square Format Photos
Your iPhone can take Instagram-style square photos instead of the rectangular photos the Camera app normally captures.
To switch to square mode, swipe the words beneath the viewfinder until Square is selected. Then use the camera as you normally would.
iPhone 4S and newer can take square photos, but only if it’s running at least iOS 7.
Use a Grid to Compose Better Photos
Want some help taking better-looking photos? Turn on the grid feature built into the Camera app and you’ll get onscreen composition assistance.
Enabling a grid in the Camera app will put a literal grid on the screen while you’re taking pictures. It won’t be saved with your photos but instead helps break the image up into squares to help in composing photos.
Turn it on in the Settings app, via Camera > Grid.
Using the camera grid is supported on all iPhone models back through iPhone 3GS.
AE/AF Lock
The Camera app also includes an AE/AF lock feature to let you lock in your current auto-exposure or autofocus settings.
The settings are sort of hidden, but you can find them in the Camera app by tapping and holding on the screen until you see AE/AF Lock appear at the top. Tap the screen once anywhere to turn it off.
AE/AF Lock is supported on iPhone 3GS and newer models.
Scanning QR Codes With an iPhone
Modern iPhones no longer need a separate app to scan QR codes. No matter where you see one, you can use your built-in Camera app to read QR codes.
To do this, view the code from your camera and tap the banner that explains what the code goes to, and you’ll immediately complete the action that the QR code was built to do.
QR code scanning was introduced in iOS 11.
How to Record Video on an iPhone
Besides being a great still camera, the iPhone is also a pretty terrific video camera. Recent models can capture ultra-high-resolution 4K footage, slow-motion video, and much more.
Taking a video on an iPhone is super easy. From the Camera app, slide over to Video, and use the red button to start and stop the recording.
Some still photography features, like HDR photos or panorama, don’t work when recording video, though the camera flash does. You can also take still photos while recording video.
Videos taken with the iPhone camera can be edited using the phone’s built-in video editor, Apple’s iMovie app, or third-party apps.
Recording Slow-Motion Video
Along with burst mode, this is the other major improvement delivered by the iPhone 5S and newer models. Rather than taking videos that run at just 30 frames per second (fps), newer models can capture slow-motion videos at 120 fps, or 240 fps on some models. This can add drama and detail to your videos.
To record slow-motion videos, swipe the row of options below the viewfinder to Slo-Mo, and then record as you normally would.
Slow-motion video recording works with iPhone 5S and newer models.
Recording Time-Lapse Video
Slow-motion isn’t the only cool video effect that’s built into the iOS Camera app. There’s also time-lapse video that lets you record video with a herky-jerky look of time passing quickly.
To record time lapse video on your iPhone, open the Camera app and swipe the text below the viewfinder until you reach Time-Lapse. Record as usual to make the video.
iPhones running iOS 8 and higher can record time-lapse videos.