
AppleInsider is supported by its audience and may earn commission as an Amazon Associate and affiliate partner on qualifying purchases. These affiliate partnerships do not influence our editorial content.
Take a deep dive into the ever-expanding default Camera app on iPhone 13 and iPhone 13 mini, to get the most out of it.
Both iPhone 13 and iPhone 13 mini have dual cameras on the rear. There is a 12MP wide-angle lens as well as a separate 12MP ultra-wide-angle lens. With the iPhone 13, Apple has continued to improve the camera with new features such as Photographic Styles and Cinematic Mode.
Contents
If we start with the controls of the Camera app, sometimes tapping the screen isn’t convenient. It can result in added blur to your photos if you tap the screen enough for it to move and can require you to use two hands — one to hold the phone while the other presses the on-screen shutter.
Fortunately, you can use the physical volume buttons as shutters too.
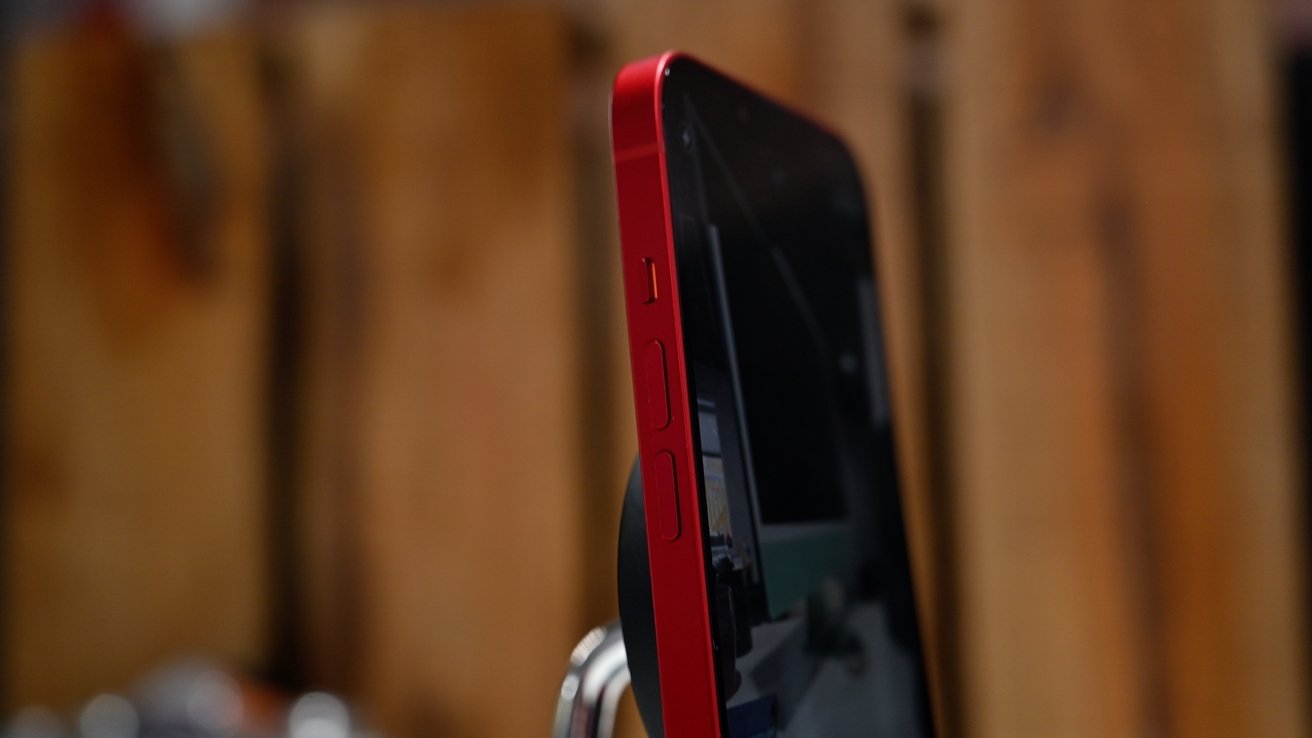
Shoot with the volume buttons
By default, if you press either the volume up or volume down buttons on your iPhone 13, it will snap a photo. Just as if you pressed the on-screen button. If you hold either of the buttons it will start recording a video clip instead.
Users have one additional customization option here though. By heading to Settings > Camera you can enable the toggle to use the volume up button to capture burst photos instead. With this turned on, if you hold the volume up button with the Camera app open, it will start capturing burst photos instead.
Controlling the zoom
Another trick has to do with controlling the scope, or zoom level of your photo. As mentioned, iPhone 13 and iPhone 13 mini have two cameras. In the Camera app, you can quickly toggle between the ultra-wide and the wide-angle cameras by tapping the small circles just above the shutter.
Beyond that, you can choose anything between .5X and 1X zoom or all the way up to 5X digital zoom. Frequently, we see users pinching and pulling on the display to zoom, but this isn’t very convenient.
Pinching on the display obfuscates your view, moves your phone around, and is fairly difficult in general — especially on the 5.4-inch iPhone 13 mini. Instead, try swiping on the zoom level buttons.
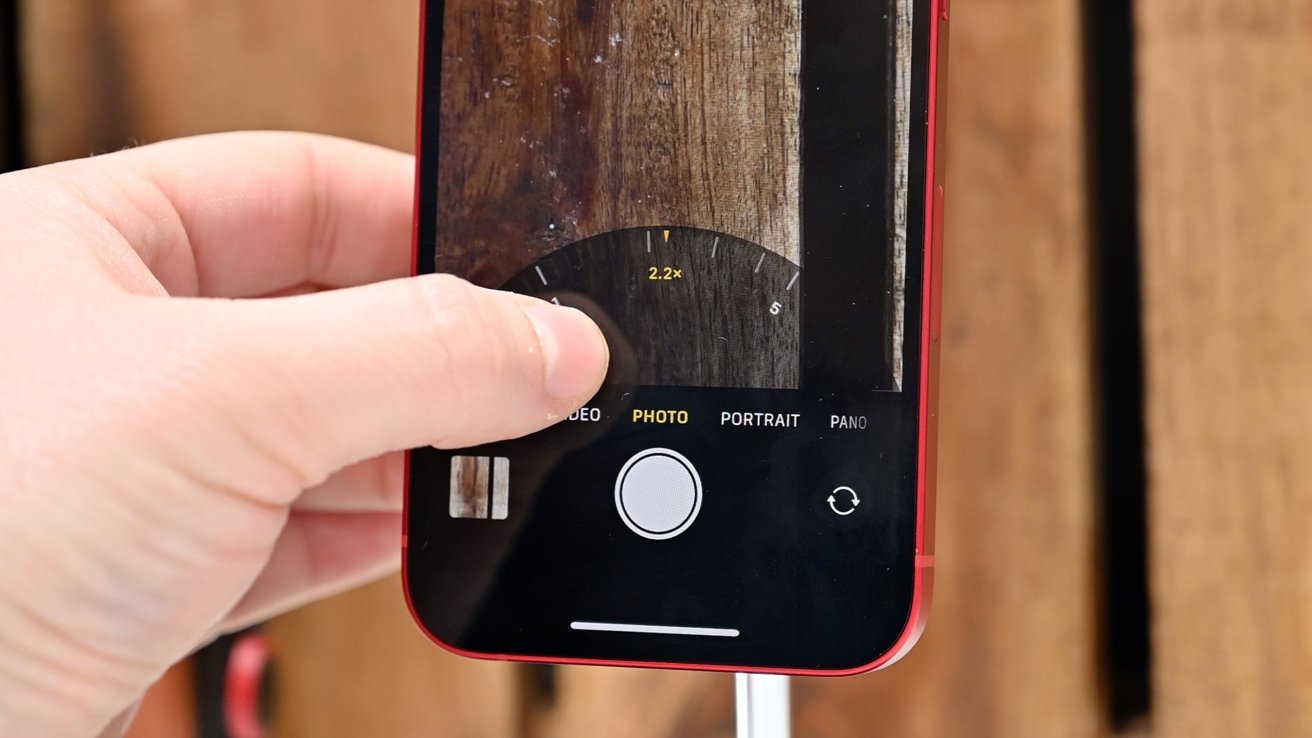
Master the zoom control wheel
When you slide the .5X or 1X buttons, a zoom wheel will appear and allow you to dial in exactly how much zoom you want. It’s much easier to pull off and if using your thumb to hit the shutter, your thumb is already perfectly located to adjust that wheel. When you’re done, you can just pull towards the shutter and the wheel will vanish.
Remember, both these phones lack a telephoto lens, so anything beyond 1X is digital zoom. Digital zoom just increases the size of the pixels versus using a telephoto lens. This results in slightly lower quality, but also means you can crop the photo after capturing it with the same change in quality.
Apple QuickTake
With QuickTake, you can go from photo to video mode in an instant. Tapping the shutter button will capture a photo — if in “photo” mode. But if you tap and hold, it will start capturing a video instead. Very similar to how we used the volume buttons.
When you hold the button, as long as you hold it the video will record. If you want to lock it into video mode, drag the shutter to the right. Then you can release the shutter and the video will continue to record.
Alternatively, if you touch the shutter and immediately drag to the left while holding, you’ll start capturing burst photos instead. Hold the shutter and burst photos will continue to be captured. Release the shutter and it will stop.
Bonus controls
Besides the on-screen controls, more controls can be accessed by tapping the carrot icon at the center of the top. When tapped, a new shelf of icons will appear just above the shutter button.

Additional camera controls
These icons include the flash control (auto, off, on), Night Mode (appears only when dark), Live Photo (on, off), Photographic Styles (choose from five styles), aspect ratio (4:3, 1:1, 16:9), exposure compensation, timer, and filters.
Photographic Style is a new feature with the iPhone 13. These are more subtle versions of filters that are applied at the time of capture. You’re can choose between warm, cool, vibrant, and rich contrast. Each of those then has its own sliders that you can adjust.
With a Photographic Style turned on, this subtle effect will be applied to all of your photos as you take them. This allows you to hone your personal look and have it applied to each photo you take automatically.
Night Mode on iPhone 13 also turns on automatically whenever the environment is appropriate. If there is plenty of lighting, Night Mode isn’t necessary so the icon goes away. Once you are in a low-light environment, this icon will appear and will enable itself automatically.
What Night Mode does is simulate an extended shutter. This means you have to stay very still while capturing the photo as any shaking can create a blurry pic. Because of that, the duration will depend on how much movement of the phone there is coupled with how dark the photo is.
if you are shooting at night while handheld, you’ll likely only see a three-second shutter. Handheld, you can manually adjust it up to ten seconds. If you mount your iPhone on a stand, you’ll be able to increase this up to 30 seconds.
Video recording on iPhone 13
On iPhone 13, there are four video modes. There is timelapse, slo-mo, Cinematic, and your basic video mode.
When shooting video, you’re able to quickly toggle between HD and 4K resolutions. For further resolution options, you can hop into the Settings app where there are 720P options as well as various frame rate options.
Cinematic Mode is another new feature of the iPhone 13. This mimics Portrait Mode but for video. When you capture the video in Cinematic Mode, it will blur the background of the video and you have plenty of control after the video is edited.
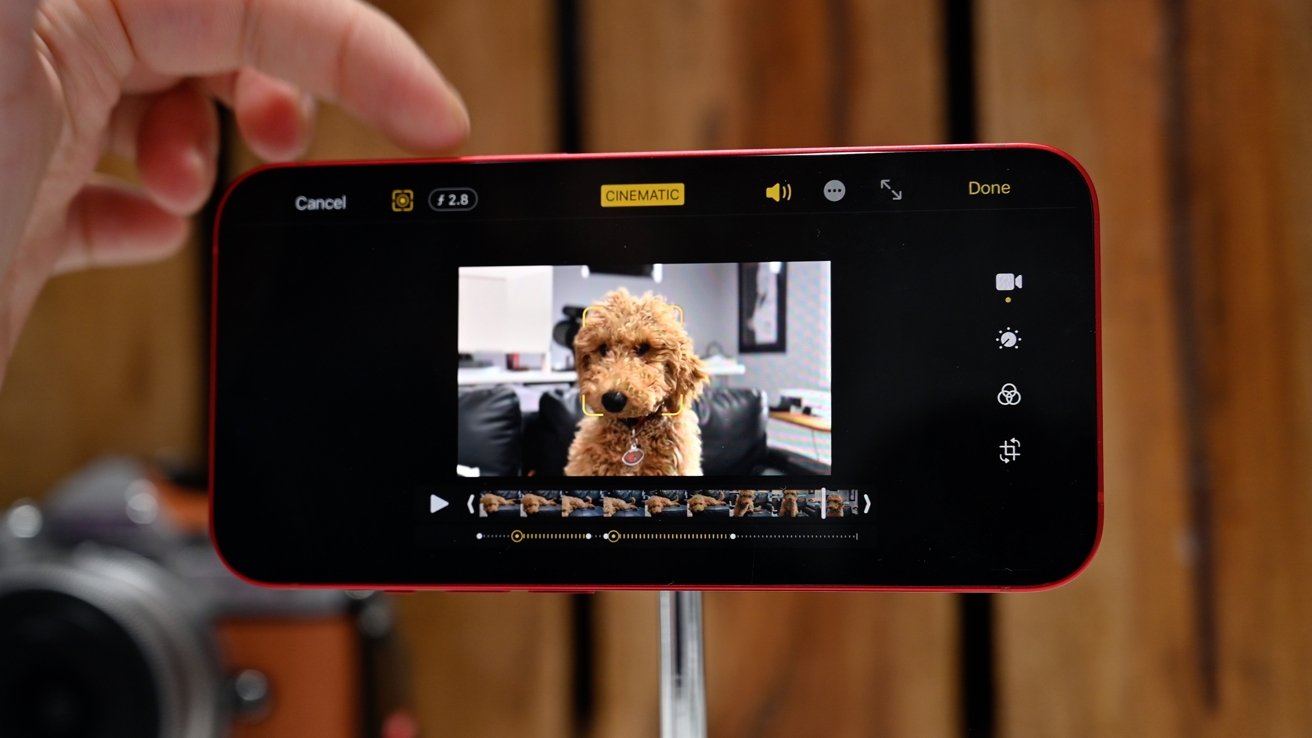
Editing a Cinematic Mode video
A Cinematic Mode video is designated by an indicator in the top-left corner of the thumbnail in the Photos app. Tapping edit brings up a wealth of controls.
Since Cinematic Mode blurs the background, it needs to have a primary focus. While editing, you can toggle on the focus editing by tapping the square icon with a circle on the inside. While the video plays, the in-focus subject will have a yellow box around it.
You’re able to change the focus while editing the video just by tapping another portion of the frame. Cinematic Mode will then follow that point. Multiple focus points are marked with a yellow circle below the timeline. This gives ample control to what is in focus during your video and what isn’t.
While editing, you can adjust the aperture too. Tapping the stylized f in the top-left corner invokes a slider on the right edge. Increase the aperture value and the background will become sharper while reducing the value will increase the background bokeh.
Get shooting
Third-party camera apps are always an option for iPhone users but many still stick with Apple’s stock options. It’s for that reason it is so important for Apple to continue adding features to the default Camera app.
Whether you’re shooting in Portrait Mode, capturing live photos, or filming a stylized Cinematic Mode video, the Camera app has you covered.